Scrapbooking Tools You Actually Need
ScrapBooking >> Scrapbooking Supplies and Tools>> Scrapbooking Tools You Actually Need
Scrapbooking Tools You Actually Need
Last updated: October 23, 2026
Key Takeaways
- Choose tools by job: cut, measure, shape, emboss, and finish.
- Most beginners need five basics first: a trimmer, scissors, a craft knife, a circle punch, and a corner rounder.
- One tool per cut type keeps duplicates in check.
- A ruler, mat grid, and scoring board do the most measuring work.
The scrapbooking tools you actually need are fewer than most starter kits suggest: a paper trimmer, scissors, a craft knife, a couple of punches, and a few measuring tools will cover most layouts. The topic Scrapbooking Tools You Actually Need: Cutter, Trimmer, Punches, and More is about buying those basics in the right order, not collecting every gadget. If you buy in the wrong order, you end up with three tools that do the same job and still cannot cut a clean border.
Scrapbooking tools by job, not by aisle
The easiest way to choose scrapbooking tools is to sort them by what they do on the page: cut, measure, shape, emboss, and finish. That approach keeps you from buying a giant bundle of overlapping gadgets before you know what kind of layouts you make most often.
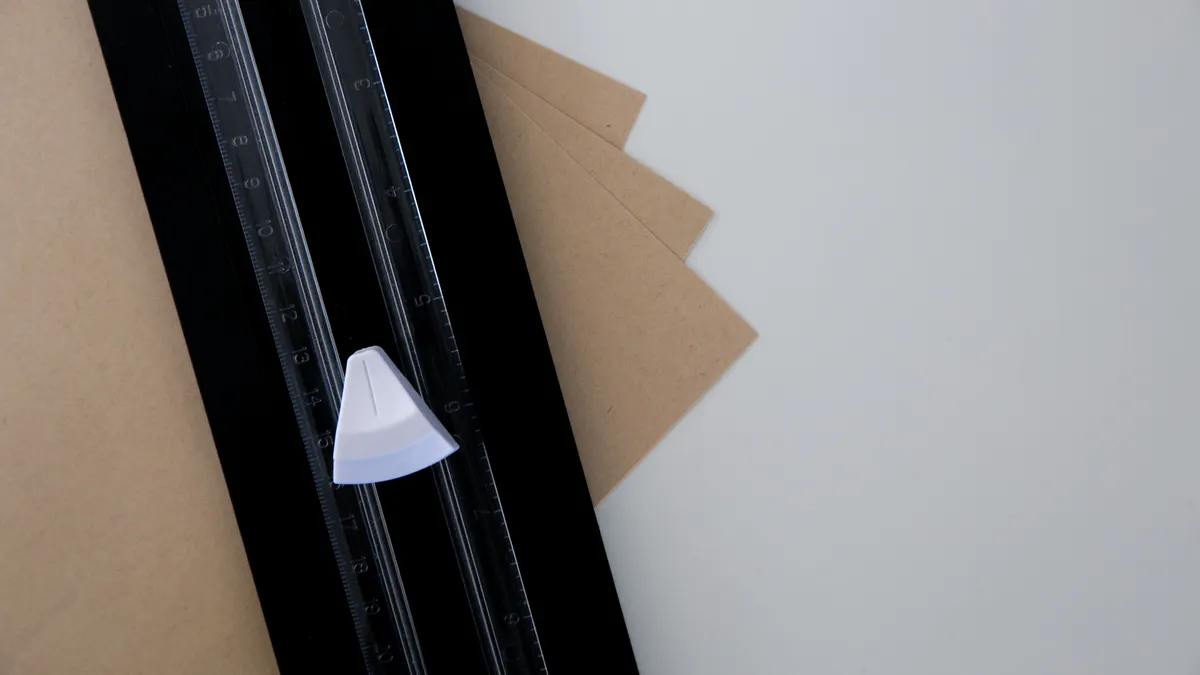
A paper trimmer handles long, straight cuts faster and cleaner than scissors for most 12 x 12-inch paper. Scissors handle trimming photo corners, snipping patterned paper, and cutting around irregular shapes. A craft knife does the detail work that neither of those tools can do well, especially when you need to cut inside a design or slice a tiny window.
Punches and embossing tools are different from cutting tools. A circle punch gives you a repeatable shape in one motion. A corner rounder changes the look of a photo mat or cardstock edge without measuring a curve by hand. An embossing folder or scoring board adds texture and folds instead of removing material.
That distinction matters because scrapbooking supplies often get bundled together in a way that hides the real decision: do you need speed, precision, repeatability, or decoration? A beginner usually needs precision first. An advanced scrapbooker usually adds speed and repeatability later.
For a broader look at the rest of the supply list, the hub page on scrapbooking supplies can sit beside this one. For related cutting advice, see paper trimmer tips, scrapbook scissors guide, and craft knife basics. This article stays with tools only, so it does not mix in adhesives, albums, or software.
What a beginner really needs first
A beginner usually needs five tools first: a paper trimmer, a good pair of scissors, a craft knife, one circle punch, and a corner rounder. That set covers most basic layouts without forcing a purchase of a die-cut machine or a drawer full of specialty attachments.
Start with a paper trimmer that cuts at least 12 inches, because scrapbook paper is commonly 12 x 12 inches. If the base of the trimmer is short or wobbly, you will spend more time lining up the sheet than cutting it. Choose one with a clear ruler, a locking arm or guide, and a blade that can be replaced when it dulls.
Pick scissors with a fine tip, not bulky kitchen-style blades. Precision matters more than jaw strength here. A smaller pair is easier to steer around photo corners and paper edges. If you also cut ribbon or lightweight embellishments, keep that pair separate so the blade stays sharper longer.
A craft knife, usually used with a self-healing mat, fills the gap between trimmer and scissors. It is the tool for tiny openings, narrow slits, and exact trimming around stamped or printed details. The mat matters as much as the knife because it protects your table and keeps the blade from skating.
One 1-inch circle punch and one corner rounder are enough to start. A punch saves time when you need the same shape more than once. A corner rounder softens the hard rectangle look of mats, tags, and photos. Those two tools do a lot of quiet work without adding much clutter.
What this starter set is not for: heavily layered mixed-media pages, intricate die-cut lettering, or projects that depend on dozens of repeated shapes. For those, the tool list grows quickly and a machine may make more sense than hand-cutting.
How to cut cleanly without buying duplicates
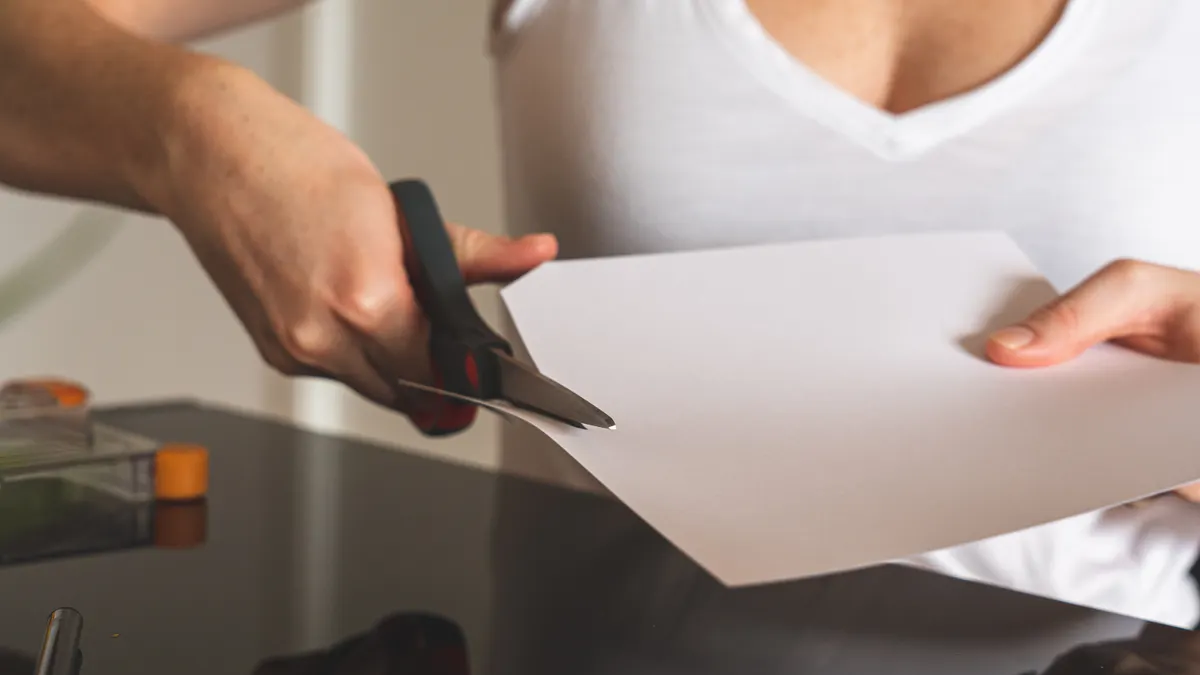
The safest way to avoid duplicate tools is to assign one tool to each kind of cut and keep that rule simple. Use the paper trimmer for straight edges, scissors for small trims, the craft knife for detail cuts, and punches for shapes you repeat. That division can help you avoid buying a second blade before you know why the first one failed; if the problem continues, consult a professional scrapbook retailer or instructor, and use the manufacturer’s guidance for the tool you own.
-
Place the 12 x 12-inch sheet on the trimmer and align the edge with the ruler mark you need, usually a 1/4-inch, 1/2-inch, or 1-inch cut for borders and photo mats.
The result should be a straight strip with no ragged edge. -
Use the trimmer for all long cuts first, then stack the offcuts for smaller pieces.
This keeps the square edge true and reduces the chance of uneven hand cutting later. -
Switch to scissors for short cuts, curves, and trimming around a printed element.
You should be able to turn the paper, not the wrist, to follow the line. -
Move to the craft knife only when the cut starts inside the paper or needs tighter control than scissors allow.
The blade should slide through the paper without bending the sheet. -
Punch only after you know the shape will repeat at least twice on the project.
That is where the tool earns its space instead of sitting in a drawer.
A common mistake is buying a decorative edge cutter for the first project because it looks versatile. The cost is clutter and a cut that is hard to match later. A plain trimmer and a single punch usually solve more problems than a specialty blade with one pattern.
Another mistake is using dull scissors on cardstock. The cost is frayed edges and crushed paper fibers. Replace the blade, sharpen if the model allows it, or reserve that pair for lighter paper and tape only.
Which measuring tools keep layouts straight?
A ruler, a cutting mat grid, and a scoring board are the measuring tools that do the most work on a scrapbook page. They help you keep borders even, lines square, and folds crisp without guessing by eye.
A clear ruler in the 12- to 18-inch range is the simplest tool to own. Clear plastic lets you see the paper edge underneath, which is useful when you are centering a photo mat or marking a 1/8-inch border. Metal rulers feel sturdier, but they can be less friendly on delicate paper if they slip.
A self-healing mat with printed grid lines gives you a stable surface for knife work and a second reference for measurement. A 12 x 18-inch mat is a practical size for many desks, though a larger board is helpful if you routinely cut full sheets. The grid is not decoration; it is a guide when you are lining up small pieces.
A scoring board belongs in this group because it measures folds and helps create clean creases for cards, envelopes, and folded scrapbook elements. It is not the same thing as a trimmer, and that is where some beginners overbuy. If you only make flat pages, you can wait on scoring. If you often make pockets, gates, or fold-out sections, it earns its place fast.
A tape measure is rarely necessary unless your workspace or storage is unusual, because scrapbooking work is usually built around standard paper sizes. The more useful habit is checking every cut against the ruler on your trimmer and mat before you commit.
What these tools do not replace is attention. A mat line can still be misread, and a ruler can still shift if you press too hard. The fix is simple: hold the ruler at two points, mark lightly first, and cut only after the line is confirmed.
Punches and corner rounders: when shape tools earn their keep
Punches and corner rounders earn their keep when you need the same shape several times or want a finish that looks intentional instead of hand-trimmed. A circle punch and a corner rounder are the two shape tools most people actually use often enough to justify.
A circle punch is best when you need labels, tiny photo windows, confetti, or a repeated circular accent. If the punch size matches your design system, it can save a surprising amount of time. For example, a 1-inch circle punch can turn scraps into accents without leaving awkward tiny leftovers.
Corner rounders are useful because they change the feel of a project without adding visual noise. Rounded corners soften journaling cards, mats, and photo corners. They also help protect delicate edges from catching, though they are not a substitute for proper storage.
What a generic craft aisle often gets wrong is the suggestion that every shape needs a punch. It does not. A punch is excellent for one shape used often. It is poor value for a shape you will use once every few months, because the tool takes space and can go dull or misalign if ignored.
If you are choosing between a circle punch and a corner rounder first, pick the one that matches the layouts you make most. A person who uses frames and photo mats will usually get more mileage from the corner rounder. A person who adds titles, tags, and sticker-like accents may use the circle punch more often.
The downside of punches is obvious: they are fixed. If the size is wrong by even a little, the shape is useless for that project. That is why buying a set too early can be wasteful. One well-chosen punch beats three sizes that almost fit.
Embossing tools add texture, but only if you need them
Embossing tools add raised texture and creases, not cuts, so they belong in a later layer of your toolkit. A scoring board, embossing folder, or hand embossing stylus changes the surface of the paper and can make a page feel more finished without adding bulk.
A scoring board is the most practical entry point because it works for folds, boxes, and simple texture lines. It is especially useful if you make cards or pocket-style scrapbook elements. A stylus gives you more control for freehand embossing, though it takes practice and is less consistent than a folder.
Embossing folders are the easiest way to get repeatable texture because they press a pattern into cardstock in a fixed shape. They are best used on sturdier paper that can hold the impression without tearing. Thin paper usually looks dented rather than textured, which defeats the point.
This is the section where a lot of buyers overspend. A beginner often imagines that texture will fix a plain layout. Usually it just adds another step. If the page already has strong color, pattern, and a clear focal point, embossing may not improve it at all.
The honest trade-off is that embossing tools are specialized. They do one job well, but that job is decorative rather than essential. If storage space is tight or your style is clean and simple, you can skip them for a long time and still make strong pages.
If you do add one, add the tool that matches your real output: folds and envelopes point toward a scoring board; raised texture points toward folders; fine raised details point toward a stylus. That order keeps the purchase tied to a project, not to a shopping impulse.
What to buy next when the basics stop being enough
The next tools to buy are the ones that remove friction from your specific process, not the ones that look impressive on a pegboard. After a trimmer, scissors, a craft knife, one punch, and a corner rounder, the most useful upgrades are often a better mat, a second punch in a new shape, or a specialty blade you know you will use weekly.
If your layouts are heavy on straight borders, a sturdier paper trimmer with a smoother cutting track is the first upgrade to consider. A cheap trimmer that wanders or frays cardstock costs more in wasted paper than it saves in money. If your pages include detailed lettering or small motif cutting, a sharper craft knife and fresh blades matter more than a new decorative tool.
If you make a lot of themed pages, a second punch may be smarter than another general-purpose cutter. A star, banner, or scallop punch can become a repeated visual language across several layouts. That is where punches work best: repetition, not novelty.
If you make fold-outs, cards, or journaling cards often, a scoring board should move up your list. The board is a time saver once you begin folding the same measurements over and over. If you do not fold paper, it can wait.
The question to ask before every new purchase is simple: does this tool create a cut, shape, or fold I already make often? If the answer is no, the tool probably belongs in the “later” pile. That rule is how you keep your scrapbooking tools useful instead of crowded.
Scrapbooking tools to skip until you know you need them
You can skip a die-cut machine, specialty edge punch sets, and large multipacks of overlapping cutters until your projects prove they are necessary. These tools can be useful, but they are not the first stop for most scrapbookers.
A die-cut machine is powerful when you want intricate shapes, repeated titles, or custom layered pieces. It is also the most expensive and space-hungry item in this list, and it comes with learning time. If you are still cutting most things by hand, it may be too much machine for your current style.
Multi-packs of decorative cutters look efficient, but they often repeat the same functions in slightly different forms. One circle punch, one corner rounder, and one sharp pair of scissors do more real work than a stack of specialty tools with tiny differences.
Skip oversized kits that bundle storage, blades, and accessories you may never use. They are often marketed as “complete,” but completeness is not the same as usefulness. If the bundle includes three similar blades and one trimmer you would not choose alone, it is probably not the right buy.
The best test is project frequency over novelty. A tool you reach for every week deserves space. A tool you use once and then have to relearn six months later probably does not.
If you are building from zero, the order is clear: trimmer first, scissors second, craft knife third, measuring tools alongside those, then punches, then embossing tools if your style calls for them. That order gives you control without waste.
What the right starter set looks like
The right starter set is a paper trimmer, precision scissors, a craft knife with a mat, a clear ruler, one circle punch, one corner rounder, and a scoring board only if you fold often. That set covers most scrapbook pages without making you buy duplicate cutting tools.
The wrong starter set is a drawer full of decorative cutters before you own a reliable trimmer. It looks complete and works poorly. A clean straight cut, a good corner, and a simple repeated shape solve more page problems than a pile of novelty tools.
The best purchase order is practical, not aspirational. Buy for the projects you make now, not the style you might adopt someday.
Drafted with AI; not yet reviewed by a person.