Beginner Scrapbooking Basics: The Complete Guide
ScrapBooking >> Beginner Scrapbooking Basics>> Beginner Scrapbooking Basics: The Complete Guide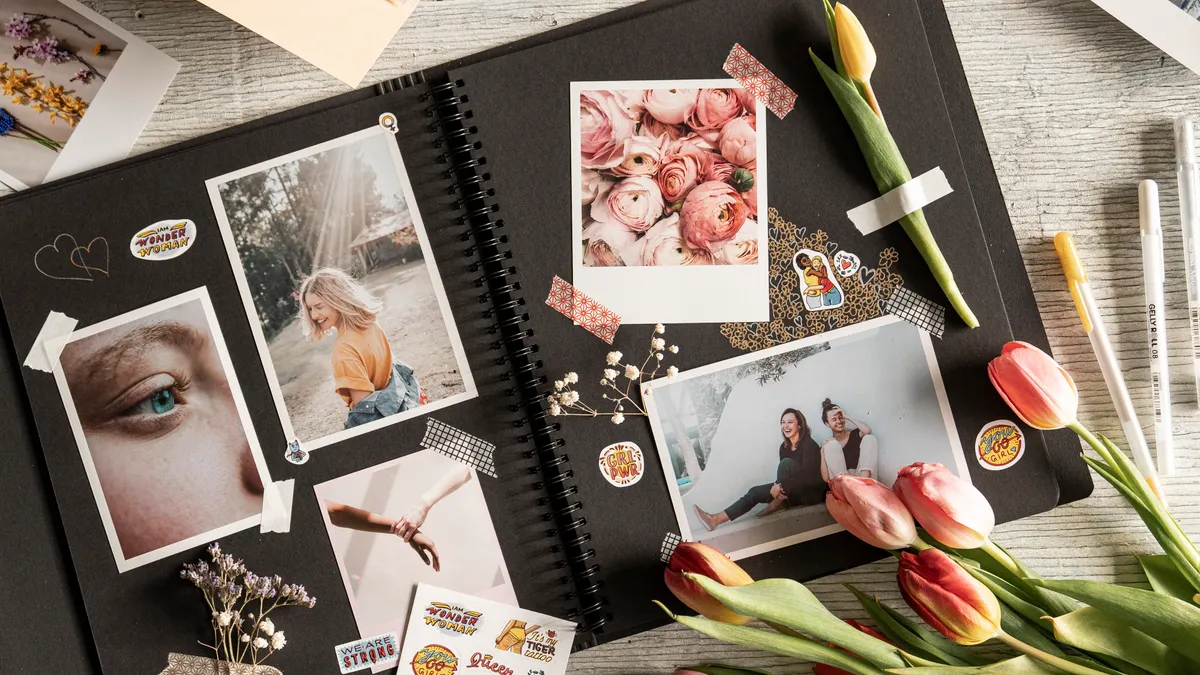
Beginner Scrapbooking Basics: The Complete Guide
Last updated: October 20, 2026
Beginner Scrapbooking Basics — The Complete Guide starts with one simple decision: preserve a memory on paper before it gets buried in a phone camera roll. Quick Answer: most beginners can start well with 1 album, 1 trimmer, 1 adhesive, and 3 to 5 paper colors. The fastest reliable way to make a first scrapbook is to pick one theme, one album size, and one photo format, then build around that instead of buying a cart full of decorative extras. I write about paper crafts and archival materials, so the question I care about most is not “What looks cute?” but “What will still matter when you open this book in five years?”
What scrapbooking is, and what a beginner actually needs
Scrapbooking is the practice of combining photos, captions, papers, and mementos into a page or album that tells a story. A beginner does not need a giant craft stash, a die-cut machine, or 20 patterned papers to start; one 12×12-inch album, a few sheets of cardstock, acid-free adhesive, and a small set of tools will cover most first projects.
The beginner mistake is buying for fantasy pages instead of real pages. Many first-timers picture elaborate spreads with layered flowers, metal charms, and custom cuts. Those pages are fine, but they are not the starting point. The starting point is a layout that can hold 3 to 5 photos, a title, and a short note without falling apart or looking crowded.
The basic supplies are straightforward:
- Album or page protector system: most beginners choose either 12×12-inch square pages or 8.5×11-inch portrait pages.
- Cardstock: a sturdy paper base, usually in 65 lb to 80 lb weight.
- Adhesive: photo-safe glue, tape runner, glue dots, or double-sided tape.
- Trimmer or scissors: a paper trimmer gives cleaner, straighter cuts.
- Pens: black archival pens or gel pens that write clearly on paper.
- Photos: printed at home, at a photo lab, or from a local store.
- Optional embellishments: stickers, washi tape, die cuts, journaling cards, stamps.
The practical rule is this: if it touches a photo or a paper memory, it should be acid-free and lignin-free when possible. The Library of Congress’s preservation guidance and the National Archives both stress that acidic materials can speed deterioration in paper collections. A scrapbook is not a museum collection, but the same principle applies if the goal is long-term keepsakes.
Because paper preservation matters, the beginner who needs this guide most is someone with a box of photos, too many ideas, and no system. The beginner who does not need this guide is someone looking for a highly artistic mixed-media approach with inks, texture paste, and specialty dies. That path is fun, but it is not the easiest way to get a first album finished.
What should be in a beginner scrapbooking kit?
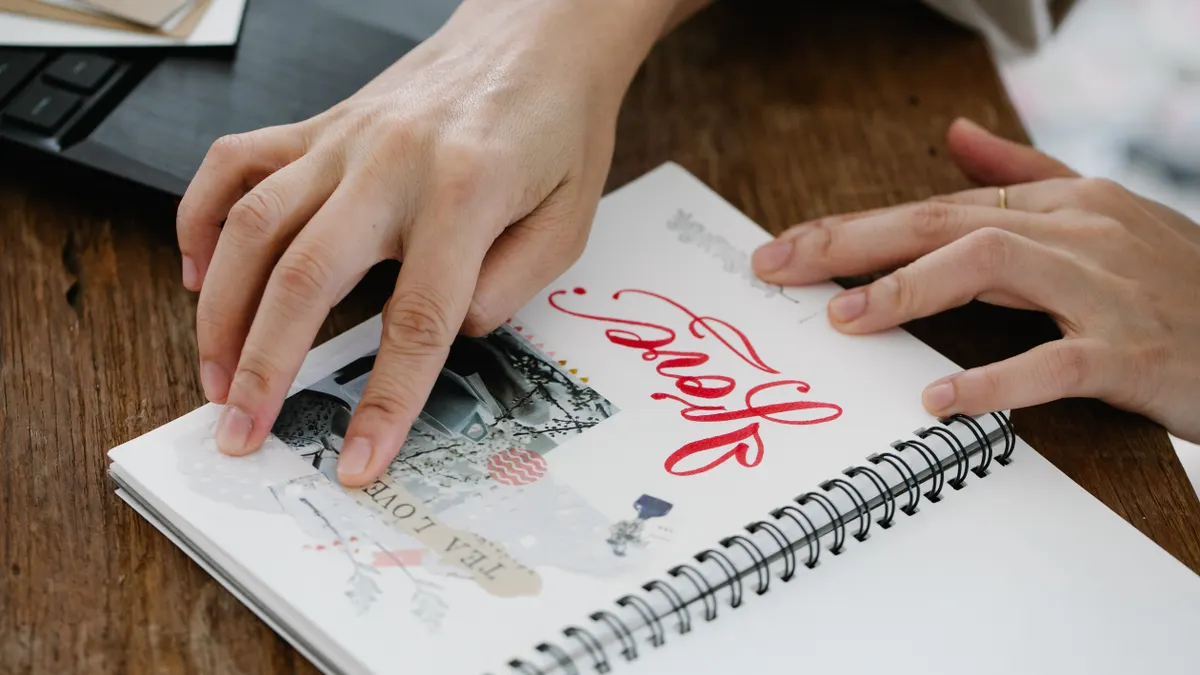
A beginner scrapbooking kit should be small, functional, and simple in the best possible way. The right first kit is the one that lets you complete 10 pages without stopping to shop for a missing tool.
A practical starter set looks like this:
- One album: 12×12-inch for traditional layouts, or 8.5×11-inch if you want faster pages and less blank space to fill.
- 20 to 30 sheets of cardstock in neutral colors plus a few accent colors.
- One trimmer with a ruler and blade.
- One adhesive system: tape runner for flat items, plus glue dots or photo corners for heavier pieces.
- One black pen for journaling.
- One small paper pad with coordinating patterns.
- One sticker sheet or embellishment pack.
- Photo prints in common sizes such as 4×6 or 3×4.
- A simple storage box or envelope for memorabilia.
The strongest case for a restrained kit is cost control and momentum. A beginner who starts with too many specialty tools often gets stuck organizing supplies instead of making pages. A trimmer and adhesive do more for page completion than a drawer full of decorative items.
The weakness of a tiny starter kit is that it can feel plain. If the only papers are solids and the only tool is a trimmer, the pages may look clean but underdressed. That is not a failure; it is a signal to add one or two texture pieces, such as vellum, patterned paper, or alphabet stickers, after the basics are working.
One source that helps here is the AIC Guide to Paper from the American Institute for Conservation, which explains why paper composition matters in preservation. Another useful reference is the Library of Congress preservation page on care and handling, which lays out why stable storage and safe materials matter over time.
The bottom line: start with a kit that supports assembly, not a kit that assumes artistic confidence you do not yet have. If a beginner kit needs a cutting machine and six specialty punches just to feel complete, it is the wrong kit for a first album.
How do I choose the right album size and page style?
Choose 12×12 inches if you want room for photos, journaling, and decorative elements; choose 8.5×11 inches if you want a faster, more document-like layout. The most practical format is the one that fits the amount of material you actually have.
This choice matters because album size changes everything else: photo cropping, paper usage, design pace, and storage. A 12×12 album is the classic scrapbook format because it gives space for a dominant photo, smaller supporting photos, and layered paper without looking cramped. It also uses a standard square page protector, which is easy to organize once you commit to that system.
An 8.5×11 album wins for a different reason: it is familiar. It feels closer to a notebook or binder page, so beginners often find it less intimidating. It also works well for school memories, travel logs, and story-first pages where journaling matters more than decorative composition.
Here is the honest trade-off. A 12×12 page can look better when you have several photos and embellishments. It can also feel empty if you only have one image and a few sentences. An 8.5×11 page fills up faster, but it leaves less room for large visual storytelling. If your memories are mostly single photos with long captions, 8.5×11 often makes more sense. If your memories are trip albums, family events, or multi-photo spreads, 12×12 usually wins.
Album binding style matters too. D-ring and post-bound albums give different page capacity and feel. A post-bound album has a cleaner, book-like look, while a D-ring album is easier to add to and rearrange. For beginners, the D-ring style is usually the safer choice because it is more forgiving when pages get thick with embellishments.
The beginner trap is choosing based on Pinterest images instead of content volume. A beautiful 12×12 spread is not the same thing as the easiest format for your actual photos. If you have 18 years of family pictures and no scrapbooking system yet, pick the format that gets pages done, not the format that looks most dramatic on a shelf.
What tools do you actually need to begin?
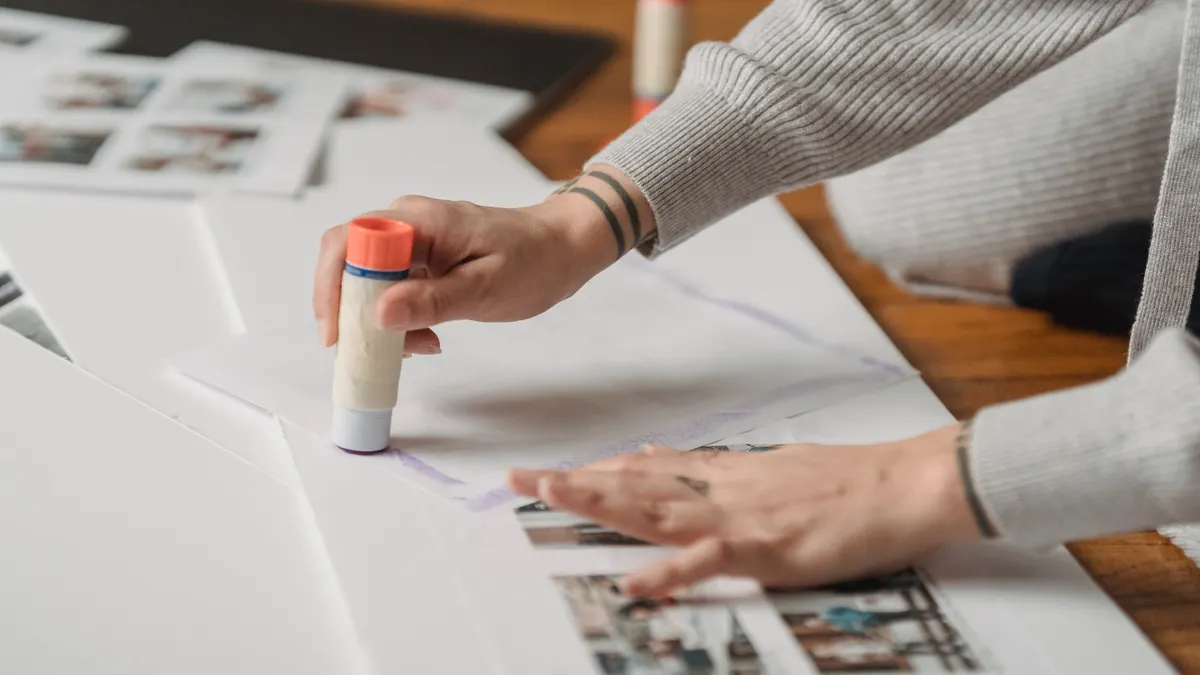
You need fewer tools than most craft aisles suggest, and the ones you do need should cut cleanly, stick reliably, and preserve photos. The core tools are a trimmer, a safe adhesive, scissors, and a pen; everything else is optional until your layout style is clear.
A paper trimmer is the most useful tool after the album itself. Straight cuts make pages look intentional, and they save time compared with hand-cutting every mat and border. A trimmer with a ruler edge is enough for most beginner work. Fancy blades and decorative edges are nice later, not essential now.
Adhesive is where beginners often make expensive mistakes. Photo-safe double-sided tape, tape runners, and glue dots are the most dependable choices for flat scrapbooking. Hot glue is fast but bulky and not ideal for archival page work. School glue can warp paper. Liquid glue can buckle thin cardstock if overused. The safer choice is a dry adhesive or a small amount of archival glue for thicker pieces.
Scissors matter more than they seem. A sharp pair for paper keeps edges clean. A small detail scissors can handle corner trimming, notches, and fussy cuts. Rounding corner punches are optional, but they can soften the look of photos and journaling blocks.
A journaling pen should write on scrapbook paper without bleeding. Archival-quality pens are the better choice for notes that should last. Black is the easiest color for readability, especially if the page already uses pattern and color.
Here is a simple beginner tool set that works for most pages:
- Paper trimmer
- Paper scissors
- Tape runner or adhesive squares
- Archival pen
- Ruler
- Bone folder for crisp folds, if making pockets or folded inserts
- Optional corner rounder
The main drawback of buying only the bare minimum is that you may hit small frustrations, like uneven cuts or weak adhesion, that slow your progress. The main drawback of buying too much is obvious: you spend more time opening packages than making pages. The balance point is a small, dependable tool set that supports repetition. Scrapbooking gets easier when the same three or four tools can handle the next 20 pages.
How do I design a scrapbook page without making it look cluttered?
Use one clear focal point, keep a limited color palette, and leave white space on purpose. A page looks cluttered when every corner tries to compete for attention; a page looks finished when the eye knows where to land first.
The easiest beginner design formula is this: one main photo, two to four supporting photos, one title, one journaling block, and one or two embellishment groups. That is enough structure to make the page feel complete without turning it into a collage of unrelated items.
A basic page layout can follow a few common patterns:
- Single-photo layout: best for a portrait, a milestone moment, or a strong focal image.
- Grid layout: best for multiple photos from one event, such as a birthday or vacation day.
- Diagonal layout: good for movement and visual energy.
- Cluster layout: useful when you want embellishments grouped near the title or focal image.
The most beginner-friendly method is the grid. A grid layout uses repeated photo sizes or repeated mats, so the page looks intentional even if the decoration is minimal. Repetition reduces design anxiety because the page does not rely on artistic instinct alone.
Color choice matters more than embellishment count. Pick one dominant color, one neutral, and one accent color for a page. If the photos are already colorful, use cardstock and embellishments that sit back instead of fighting the images. If the photos are black-and-white or sepia, the page can carry stronger pattern and contrast.
A common mistake is filling every inch because blank space feels unfinished. In scrapbook design, blank space is part of the composition. It gives the eye rest and keeps captions readable. Another common mistake is using too many fonts, sticker styles, or paper patterns on one page. If the title, journaling, and background all shout at once, the page loses structure.
This is where beginner scrapbooking often gets easier than it looks. A page does not need to be busy to be meaningful. One strong photo, one clear story, and a restrained design will usually beat a page packed with unused stickers. The page should preserve the memory first and decorate it second.
What should I journal, and how much writing is enough?
Write enough to identify the memory later and enough to explain why it mattered. For most pages, 2 to 5 sentences are enough; the right amount is whatever gives the photo context without burying it.
Journaling is the part many beginners skip, then regret. Photos show what happened. Journaling explains who was there, where it was, and why the moment mattered. Years later, the story around the image is often more valuable than the decoration.
A useful journaling formula is simple:
- Who is in the memory?
- What happened?
- When or where did it happen?
- Why do you want to remember it?
A caption can be as short as “First day at the beach, July 2024, with Grandma and Eli” or as long as a short paragraph about the day. There is no rule that every page must contain an essay. In fact, many pages are stronger when the writing is brief and specific.
If writing feels hard, use prompts:
- “I remember laughing when…”
- “The best part of this day was…”
- “I want to remember how…”
- “This mattered because…”
Handwriting is not mandatory, but it does add a personal feel. If your handwriting is hard to read or you want a cleaner look, print the journaling on cardstock or type it on a label. A simple typed note is still your memory.
The big mistake here is waiting for the “right” words and ending up with blank pages. The second mistake is writing vague lines like “Fun day!” or “Great memories!” Those phrases say very little. Specificity wins. Names, places, dates, small observations, and one honest sentence about the feeling will make the page useful later.
A scrapbook without journaling is often just an album of pictures. A scrapbook with even modest journaling becomes a record. That difference is the whole point of the craft.
How should I organize photos, memorabilia, and supplies?
Organize by theme or time period, not by the order in which items happened to arrive in your house. A beginner who sorts first by event, then by date, then by material type will finish pages faster than one who keeps everything in one overflowing box.
The simplest system is a three-part setup:
- Photos sorted into labeled envelopes or folders by event, year, or subject
- Memorabilia stored flat in an archival box or pocket sleeves
- Supplies separated by category: paper, adhesive, tools, embellishments
If you scrapbook by theme, create bins such as birthdays, travel, school, holidays, or family. If you scrapbook chronologically, label folders by year and month. Either works; what matters is consistency. A photo that lives in a labeled folder gets used. A photo buried in a random pile usually does not.
Memorabilia needs special handling because receipts, tickets, programs, and cards are often awkward shapes. Flat pocket pages, protective sleeves, or archival envelopes keep them together without cutting up the original item. If the memorabilia is large or fragile, scan or photograph it before trimming anything. That way, the story stays intact even if the object does not fit perfectly on the page.
Supply storage should support visibility. Clear bins, open boxes, and shallow drawers make it easier to remember what you own. Deep bins can hide half-used paper pads and duplicate stickers. If you cannot see it, you will buy it again.
The strongest beginner habit is to set up a “ready to scrapbook” folder for each project. Put the printed photos, notes, and related memorabilia in one place. That turns scrapbooking from a vague someday task into a specific session with a defined start.
The downside of over-organizing is that the system can become a project on its own. A perfect color-coded archive is impressive, but it is not the same as a finished scrapbook page. The right system is the one you can maintain on a busy week, not the one that looks best in a storage reel.
What are the most common beginner mistakes?
The most common beginner mistakes are overbuying, overdecorating, and underjournaling. Fix those three, and most scrapbook pages improve immediately.
Overbuying happens when every tool seems necessary. A beginner sees punches, stamps, dies, corner rounders, wet glue, stickers, washi tape, and specialty paper, then assumes all of it belongs in the starter kit. It does not. Too many supplies create decision fatigue. If a page takes 20 minutes to design but 40 minutes to choose a paper, the system is broken.
Overdecorating is the second trap. Beginners often equate “finished” with “more stuff.” If too many embellishments crowd the photo, the page can lose clarity. A page needs visual hierarchy, not every available decorative element. When the design starts to fight the memory, it is worth stepping back and simplifying.
Underjournaling is the quietest failure. Months later, a photo of a child in costume or a family trip to the coast may still look lovely, but the context disappears. If the page cannot tell the story later, it has lost a key part of its purpose.
There are smaller errors too:
- Cutting every photo the same way, which can make pages feel rigid
- Using non-archival materials near treasured items
- Choosing colors that clash with the photos
- Making pages so precious that they never get touched again
- Starting with the hardest possible project, like a 10-year backlog with no sorting system
The fix is not perfection. The fix is repetition. One page finished well teaches more than ten half-built pages. The beginner who makes simple layouts consistently will learn spacing, color, and pacing faster than the beginner who keeps waiting for a better idea.
This is where patience matters. Scrapbooking rewards completion. A page with a straightforward design and a handwritten note is often more valuable than a complicated spread that never gets assembled.
What if I want the easiest possible way to start?
Start with a mini album or a single 12×12 layout, not a full multi-chapter scrapbook. The easiest way in is a small project with one theme, five to ten photos, and a limited supply list.
A mini album works well for a vacation, a holiday season, or a baby milestone. It gives structure without requiring a large archive. A single page works even better if the goal is simply to learn the mechanics: photo placement, adhesive, journaling, and trimming.
The easiest beginner plan looks like this:
- Choose one topic, such as “Summer 2025” or “Birthday dinner.”
- Print 5 to 8 photos.
- Pick 2 cardstock colors and 1 pattern.
- Write 3 short journal notes.
- Build one page or one 4×6 pocket spread.
- Stop after one finished unit, even if supplies remain.
That approach has a real advantage: it lowers the stakes. A beginner who tries to make a full album on day one often stalls out. A beginner who completes one page learns the workflow and gets a result quickly.
The downside is obvious. A tiny project may feel too small if the goal is to preserve years of memories. If you already know you want a long-term family album, a mini album is practice, not the end goal. But as a first step, it works well because it creates momentum.
The best beginner path is not the fanciest one. It is the one that gets you from unopened supplies to a completed page before the motivation fades.
The verdict: what should a beginner choose first?
Choose a 12×12 D-ring album if you have many photos, want room for journaling, and like a classic scrapbook look. Choose an 8.5×11 album if you want a faster, less intimidating format with less empty space to design. Neither if you are still sorting photos and do not know your theme yet.
That is the cleanest call because format determines the rest of the project. If your memories are broad and photo-heavy, the square format gives you room to build. If your memories are text-heavy or you want a notebook feel, the portrait format is easier to fill. If you do not know what story you want to tell, buy nothing yet and sort first.
The same rule applies to supplies. Start with a small, reliable set: album, cardstock, trimmer, adhesive, pen, and a few coordinating papers. Skip specialty tools until your page style becomes obvious. The beginner who chooses restraint gets to the finished book faster.
When should a beginner scrapbooking plan change?
A beginner scrapbooking plan should change when the photos, budget, or time commitment do not match the format chosen at the start. The right system is the one that fits the life you actually have, not the one that looked appealing in a craft store aisle.
Three exception scenarios can flip the usual advice:
-
You have mostly memorabilia, not photos.
A pocket-page system or journal-style album may work better than traditional full-layout pages because tickets, programs, and cards fit more naturally in pockets or inserts. -
You need a school or office-friendly notebook look.
An 8.5×11 album or binder format may beat a 12×12 album because it is easier to store, carry, and add to without special shelving. -
You want to complete pages quickly with very little design effort.
A pocket-page system can be the better choice because it turns scrapbooking into arranging cards, photos, and captions rather than building every spread from scratch. -
You are preserving delicate or irreplaceable items.
Archival sleeves, copies, and scanned backups matter more than decoration. Preservation should come before aesthetics when the original item is fragile.
The most important change point is not aesthetic taste. It is friction. If a format keeps creating friction — too much cutting, too much empty space, too many supplies, too much decision-making — switch to one that reduces the burden.
Beginner Scrapbooking Basics comparison table
| Format or supply | Best for | Typical size or spec | Practical price range |
|---|---|---|---|
| 12×12 album | Photo-heavy pages and classic layouts | 12 x 12 inches | About $15 to $40 |
| 8.5×11 album | Faster pages and notebook-style designs | 8.5 x 11 inches | About $10 to $30 |
| Cardstock pack | Page bases and mats | 20 to 30 sheets | About $5 to $15 |
| Paper trimmer | Clean, straight cuts | Standard desktop size | About $10 to $25 |
| Tape runner or adhesive | Flat photo and paper placement | One dispenser | About $5 to $12 |
| Archival pen | Journaling that lasts | Black or dark ink | About $2 to $8 |
Key takeaways
- The easiest way to begin is to choose one theme and one album format before shopping.
- A small starter kit beats a large stash because it keeps the focus on finishing pages.
- 12×12 albums suit photo-heavy stories; 8.5×11 albums suit faster, simpler layouts.
- Clean design comes from repetition, white space, and one clear focal point.
- Journaling is not optional if the scrapbook is meant to preserve the story, not just the image.
- The best beginner system is the one you can repeat on a busy day without extra research.
Beginner Scrapbooking Basics FAQ
How many photos should I put on a beginner scrapbook page?
For most first pages, 3 to 5 photos is a practical range. A single-photo layout also works well if the image is strong and the journaling does the rest of the storytelling.
What is the cheapest way to start scrapbooking?
Start with one album, basic cardstock, a paper trimmer, adhesive, and a pen. Then print only the photos you plan to use so you avoid buying extra supplies before you know your style.
Do I need expensive tools for Beginner Scrapbooking Basics — The Complete Guide?
No. A beginner can make finished pages with a small set of basic tools. Specialty machines, punches, and dies are optional until your page style becomes clear.
Should I use 12×12 or 8.5×11 for my first album?
Use 12×12 if you have many photos and want room to build a spread. Use 8.5×11 if you want a faster format with less blank space to fill.
How do I keep scrapbook pages from looking crowded?
Limit your color palette, leave white space, and use one focal point per page. If the page starts feeling busy, remove one embellishment group and simplify the design.
Drafted with AI; not yet reviewed by a person.