How to Store Scrapbooking Supplies So They Stay Organized
ScrapBooking >> Scrapbooking Supplies and Tools>> How to Store Scrapbooking Supplies So They Stay Organized
How to Store Scrapbooking Supplies So They Stay Organized
Last updated: October 23, 2026
Key Takeaways
- Separate scrapbook supplies by category and project stage so the next item is quicker to find.
- Sort, size, label, and give each supply group one fixed home.
- Keep paper flat and visible; bent corners and buried packs waste time and money.
- Put the most-used adhesive and tools closest to the work surface, with backups in labeled drawers.
Scrapbooking supply storage works best when every item has a home, every project has its own bin, and paper stays flat. Quick Answer: use three zones, one active paper organizer, and one project bin per layout to keep How to Store Scrapbooking Supplies So They Stay Organized practical. If a reader is always hunting for adhesive, losing half-used sticker sheets, or stacking cardstock into a wobbly tower, the fix is not “more storage.” It is a simple system built around categories, labels, and a workspace that makes the next step obvious. The main goal is to make scrapbooking supply storage easy to maintain in 5-minute resets.
Start with the scrapbooking supply storage system that actually holds
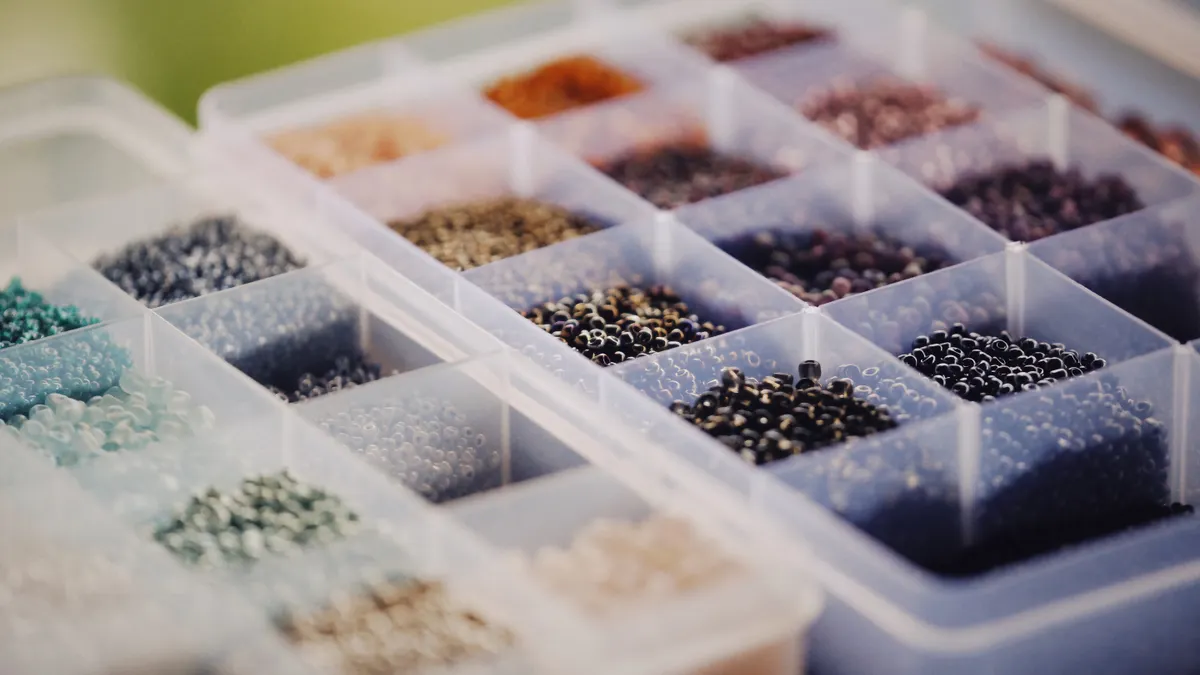
The right scrapbooking supply storage system separates supplies by category and by project stage, so the next page, photo, or embellishment is easy to find. That means fewer mixed drawers, fewer duplicate purchases, and less time cleaning up before a 20-minute craft session turns into a 45-minute search.
The first move is to sort by use, not by color. A rainbow of bins looks neat for a week, then becomes a puzzle. Keep paper, adhesives, tools, and embellishments apart. Then split each group into “active” and “backup.” Active supplies belong within arm’s reach. Backup supplies can live in a drawer, closet shelf, or a lidded tote.
A practical setup often uses:
- storage drawers for small, repetitive items
- paper organizers for cardstock and 12 x 12 paper
- label bins for broad categories
- pencil cups for tools used daily
- clear containers for visible small parts
Clear containers help because you can see what is running low without opening everything. They are not perfect, though. Clear sides invite visual clutter if the items inside are loose. Use them for sorted pieces, not for a pile of mixed extras.
This page fits the hub on scrapbooking supplies, but the job here is narrower: it is about keeping the supplies usable after they are bought, cut, opened, and partially used. That is the point where most scrapbook rooms fall apart.
What should go in each bin, drawer, and cup?
Each storage type should hold one kind of task, not one random category of “craft stuff.” A bin should make sense to the hand that reaches for it at 9 p.m. with a half-finished layout on the table.
Use this rule:
- Storage drawers: small and repetitive items such as brads, gems, journaling cards, tags, and spare adhesive tabs
- Paper organizers: cardstock, patterned paper, 8.5 x 11 inserts, and project kits
- Label bins: broad groups such as “summer,” “travel,” “school,” or “tools”
- Pencil cups: pens, scissors, bone folders, tweezers, and craft knives
- Clear containers: buttons, enamel dots, chipboard shapes, and other tiny embellishments that are already sorted
The biggest mistake is mixing supply types because they came from the same shopping trip. A pad of paper, a glue pen, and a package of flowers may all be “for one album,” but they do not behave the same way in storage. Paper wants flat support. Adhesive wants a cool, dry spot. Tiny embellishments want subdivision, or they disappear into one ugly jumble.
Project stage matters too. Keep a “not started” area, an “in progress” area, and a “finished” area. A project bin for an in-progress layout should hold only the pieces needed to finish it: photos, paper pulls, notes, and the embellishments chosen for that project. Once a project is complete, move leftovers back into their homes within a few minutes, not days.
That habit can prevent the classic scrapbooking pile-up: one box holding open glue, three paper packs, scissors, and a dozen unrelated die-cuts. It feels efficient until the next session starts with cleanup instead of creating. If a setup keeps drifting into a pile, consider a consultation with a professional organizer and the National Association of Productivity and Organizing Professionals at https://www.napo.net/ for general organizing guidance.
How do you organize scrapbook supplies?
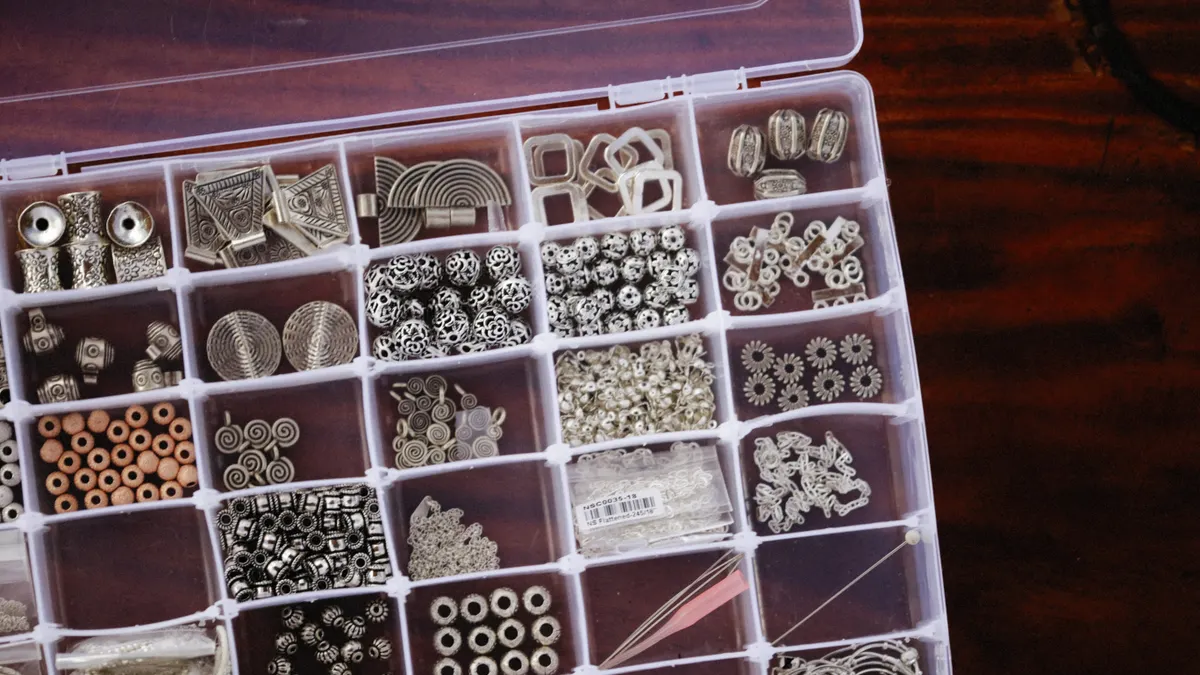
Organize scrapbook supplies by sorting, sizing, labeling, and assigning each category a fixed home. That approach stays usable when supplies multiply, even in a small craft corner.
Here is a simple procedure that works in a small room or a craft corner:
- Pull every supply onto one table or floor area about 6 feet wide so the whole inventory is visible, then divide it into paper, adhesives, tools, and embellishments.
- Separate active items from backup stock, keeping only the next 1 to 3 projects’ worth of open supplies at the workspace.
- Put paper into a vertical paper organizer or a flat drawer stack, sorted by size first, then by type, so 12 x 12 sheets stay unbent.
- Place adhesives in one labeled drawer or bin near the table, with the most-used items at the front and refills behind them.
- Stand daily tools in pencil cups or a shallow tray, so scissors, tweezers, and pens can be grabbed without digging.
- Sort embellishments into clear containers or small drawers by shape or project theme, then label each container with a name you would use while searching for it.
- Assign one project bin per active layout, mini album, or theme, and keep all related pieces together until the project is done.
- Put labels on the front, not the lid, so the contents are visible when a bin is stacked or pulled from a shelf.
That sequence matters because it follows how supplies are used. Paper is the largest item and sets the storage shape. Adhesive and tools need access. Embellishments need sorting after the larger structure is set.
A common trap is over-sorting on day one. Twenty tiny categories feel tidy until the labels stop matching what is inside. If a category cannot stay full enough to be obvious, merge it with a neighboring one. Three almost-empty drawers are worse than one clear drawer.
Another trap is hiding everything in opaque boxes because the shelf looks cleaner. Opaque storage works for backup stock, but not for active supplies. If a bin cannot be recognized in 2 seconds, it is too hidden for daily use.
Paper storage that keeps 12 x 12 sheets flat
Paper storage should keep sheets flat, visible, and separated by type, because bent corners and buried packs are the fastest way to waste time and money. For scrapbooking supply storage, the safest setup for many scrapbook rooms is a vertical paper organizer for active paper and a flat drawer or portfolio for long-term stock.
The simplest rule is this: upright for browsing, flat for protection. A vertical organizer lets you flip through cardstock and patterned paper without disturbing the whole stack. A flat drawer is better for heavyweight sheets, specialty papers, or paper you want to keep pristine. If a pack is already opened, move it into the active section rather than letting it lean against a wall or slump under a stack of tools.
Paper storage gets messy when it is grouped by mood instead of format. “Spring,” “baby,” and “gold foil” may sound neat, but the next project usually starts with size or finish, not a theme name. Keep the first division practical:
- 12 x 12 paper
- 8.5 x 11 paper
- cardstock
- specialty or textured paper
- scraps and offcuts
Scraps deserve their own small container, but not a giant one. A shallow clear box or accordion file is enough for usable scraps. Once scraps are folded, torn, or too small to mat a photo, they become clutter dressed up as thrift.
One honest drawback: vertical organizers can bow if overloaded. If the sides start to spread, stop adding paper and move the overflow to a second organizer or a flat drawer. Paper that leans too hard against itself can curl, especially if the room is warm or humid.
If a reader wants a deeper breakdown of paper types later, that belongs on another page. Here, the main goal is scrapbooking supply storage discipline, not paper selection. See how to organize scrapbook paper for a closer look at paper-specific setups.
How to store adhesives, tools, and the messiest small items
Adhesive storage and tool organization work best when the most-used items sit closest to the work surface and the rest stay contained in labeled drawers. This keeps glue from wandering across the room and stops scissors, tape runners, and pens from disappearing under paper stacks.
Adhesives need two things: a consistent spot and a controlled environment. Keep liquid glue, tape runners, adhesive dots, foam squares, and refill rolls together, but do not cram them into a hot window shelf or a spot near a vent. Heat can make adhesive behave badly, and a crowded bin can crush tape runners or dry out exposed pieces. A small drawer with dividers is better than a deep basket.
For tools, use a vertical setup if the tools are grabbed constantly. A pencil cup or narrow caddy works for scissors, pens, tweezers, and a bone folder because the handles stay visible. If the tools tip over too easily, switch to a shallow tray with compartments. The goal is not decoration. The goal is that your hand reaches the same place every time.
Small, awkward items need the most discipline:
- Washi tape goes in a small drawer or shallow bin so rolls stay upright
- Metal dies stay flat in sleeves or lidded boxes
- Ink pads stack in a labeled drawer by color family or type
- Stamps should stay in a single, dry container with their sets grouped together
- Loose labels, chipboard, and wood pieces belong in clear containers, not open baskets
Open baskets look friendly, but they let small pieces spread. That is fine for a day and annoying for a month. If an item slides to the bottom, it is no longer organized.
This section is also where a reader should be honest about personal habits. If daily cleanup never happens, choose storage that closes. Lidded bins beat open trays for anyone who leaves a project half-finished overnight. For adhesive-heavy setups, see how to store scrapbook adhesive.
Set up the workspace so storage saves time
A workspace saves time when the storage follows the body, not when the room looks styled. Put the highest-use supplies within one chair swivel or one step from the table, and move the backup stock farther away.
A good layout usually has three zones:
- Table zone for active work, cutting, and assembly
- Reach zone for scissors, adhesive, ruler, pens, and current embellishments
- Reserve zone for backup paper, seasonal extras, and unopened packs
This is the part most generic articles miss. Storage is not only about containers. It is about motion. If the adhesive drawer sits behind the chair and paper storage is across the room, the system will fail on busy days. If the cutter, pencil cup, and current project bin all sit on the same side of the desk, cleanup becomes a short reset instead of a separate task.
Vertical space helps when the desk is small. A wall shelf, narrow cart, or over-the-table organizer can keep paper and bins off the work surface without pushing them so high that they are forgotten. Keep the top shelf for backup stock, not daily essentials.
Aim for a 5-minute reset at the end of a session. Return tools to cups, move scraps into their container, close adhesive, and place the current project bin back in its slot. That short habit protects the whole system. Without it, the best storage turns into a catchall by next weekend.
One trade-off is visible clutter versus quick access. Open storage looks busier but is faster. Closed storage looks cleaner but can slow you down. The right mix depends on how often you scrap. If you work several times a week, give priority to speed. If you craft less often, keep more behind closed doors so the room stays calm between sessions.
Project bins that keep one layout from taking over the room
Project bins keep one scrapbooking project contained, which matters when photos, paper swatches, notes, and half-used embellishments would otherwise migrate across the table. A project bin should hold only the materials tied to one layout, mini book, or theme, and it should be easy to move in and out of storage.
Use a clear container, file box, or small tote with a lid. Add a label with the project name and, if useful, the stage: “Drafted,” “Photos chosen,” or “Needs title.” The container does not need to be large. In fact, smaller is often better because it stops the project from absorbing unrelated extras.
A strong project bin usually holds:
- printed photos or placeholders
- paper pulls chosen for that project
- a note with measurements or page ideas
- specialty embellishments reserved for that layout
- any templates, sketches, or cutting notes
Once the project is done, empty the bin completely. Leftover bits should go back to their category homes or into scrap storage. A project bin that never gets cleared becomes a parking spot for clutter, not a tool.
This system is not ideal for people who work on 10 projects at once and never finish them. In that case, project bins can multiply until they become a second inventory. The limit has to be real. If a bin sits untouched for months, it should be reviewed, completed, or broken down.
For readers who want to keep the whole supply library under control, the hub page on scrapbooking supplies can sit above this system. This page is about the working order underneath it.
Common storage mistakes that create clutter again
The most common storage mistakes are overbuying containers, mixing categories, and storing active supplies out of reach. Those mistakes cost time first, then money, because they create duplicate purchases and make it hard to use what is already owned.
A few specific errors show up again and again:
- Buying bins before sorting. The result is a storage system built around guesses. The fix is to sort first, then size the containers.
- Using one giant “miscellaneous” box. The cost is lost items and repeat purchases. The fix is to break the box into actual categories, even if they are simple.
- Storing paper horizontally in a deep pile. The cost is bent corners and awkward browsing. The fix is a vertical paper organizer or a flat, shallow drawer.
- Keeping adhesive far from the table. The cost is interrupted flow and messy lids left open on the move. The fix is one designated adhesive station within easy reach.
- Letting project leftovers live forever. The cost is a room that looks active but works like clutter. The fix is a weekly or end-of-project reset.
The hard truth is that no storage method wins against vague habits. A neat shelf can become a junk shelf in a month if the system does not match how you actually scrap.
Drafted with AI; not yet reviewed by a person.