How to Preserve Photos in Scrapbooks Without Damaging Them
ScrapBooking >> Beginner Scrapbooking Basics>> How to Preserve Photos in Scrapbooks Without Damaging Them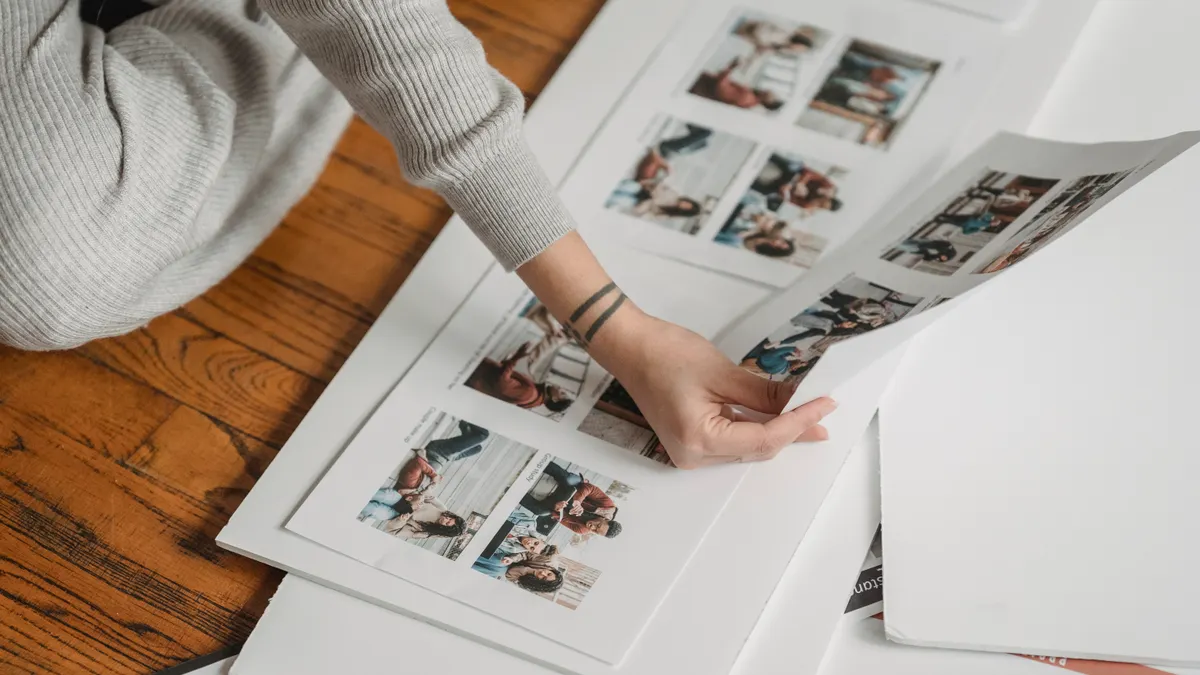
How to Preserve Photos in Scrapbooks Without Damaging Them
Last updated: October 22, 2026
A family photo can wrinkle in minutes and stay that way for decades. That is the uncomfortable part. Quick Answer: the safest way to preserve photos in scrapbooks is to use acid-free materials, photo-safe adhesive or photo corners, album sleeves, and an archival storage box; for irreplaceable prints, a reversible mount is usually the better choice. In How to Preserve Photos in Scrapbooks Without Damaging Them, the goal is to keep the image flat, clean, and chemically safe for years, not just make the spread look good today. According to the Library of Congress, light, heat, and humidity speed paper damage, so storage matters as much as mounting. Use the right sequence: acid-free materials, photo-safe adhesive, photo corners, album sleeves, and an archival storage box.
Key Takeaways
- Pick materials made for photo preservation, not craft-only use.
- Keep glue off the image whenever you can; corners are safer for originals.
- Let each photo stay protected from light, humidity, and sticky inserts.
- Use an archival box for finished scrapbooks or loose prints that are not on display.
- If a picture is rare, irreplaceable, or already brittle, give it the gentlest mounting method you can.
What you need before you start preserving photos
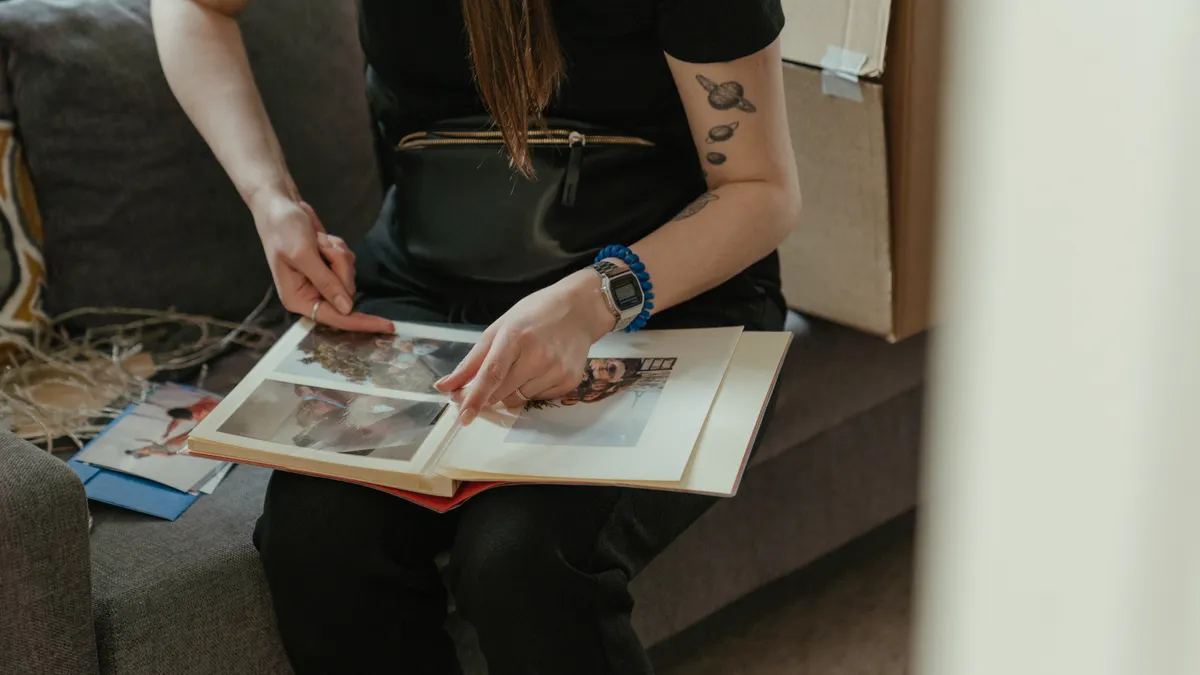
Start with a clean, flat surface. Then gather acid-free paper, photo-safe adhesive or photo corners, album sleeves, and an archival storage box before you mount a single print. That setup reduces sticky residue, warped paper, and slow discoloration, though a conservator can help if a photo is already fragile.
Choose materials labeled for photo or archival use, not just “decorative” or “craft.” Acid-free paper matters because acidic backings can yellow prints over time. Album sleeves add a barrier between the photograph and handling; they are handy when a page gets flipped a lot. And a storage box gives finished pages a dark, stable place to live when the book is not being browsed.
One thing I would not treat casually is the adhesive. Some glues hold for a month and then turn into the reason a photo curls, stains, or peels. The Library of Congress recommends avoiding pressure-sensitive tapes and unstable adhesives for long-term preservation, and a conservator can advise on difficult prints. That is why this topic belongs on the preservation side of scrapbooking, not the decorating side. The hub on what scrapbooking is can sit beside this, but this page stays focused on keeping the image itself safe.
For a one-of-a-kind photograph, pause before choosing a permanent mount. Fragile or already backed prints usually do better with a reversible method; a paper conservator can help if the item is especially delicate.
How do you preserve photos in a scrapbook?
Mount them with photo-safe materials. Keep them away from light and moisture. Then store the finished book in an archival box. The safest layout is built from the back outward, though the exact order depends on the materials you choose.
- Sort the photos you plan to use and set aside any originals you cannot replace. Keep those in a separate pile so they do not get bent while you work; if a print matters more than the page design, it should get the gentlest treatment, and a conservator is worth consulting for especially valuable items.
- Choose an acid-free backing sheet or page protector for each spread. Done well, the page feels sturdy and the print is not sitting on ordinary craft paper that can transfer acids over time.
- Mount each photo with photo corners if you want a reversible method with minimal contact. The print sits in the corners, stays flat, and can be removed later without scraping glue from the back.
- If you need adhesive, use a photo-safe adhesive only on the back edges or corners, never across the image surface. The photo should lie smoothly without ripples, and there should be no squeeze-out at the edges.
- Leave a small margin around the photo rather than pressing it right to the page edge. That spacing helps the page turn cleanly and keeps corners from catching during handling.
- Cover the finished page with an album sleeve or place it into the scrapbook binding in a way that keeps bare hands from touching the image. The photo should look clear, with no fingerprints, dust, or wet-looking glue marks.
- Store the completed scrapbook upright or flat in an archival storage box away from direct sun, vents, and damp rooms. The visible result is simple: the pages stay crisp, the prints stay straight, and the book does not smell musty.
A reversible mount is the smartest default for family photos, school pictures, and anything you may want to scan or move later. A permanent mount can look cleaner, but it gives you less room to correct a mistake and less protection if the adhesive ages badly. That trade-off is the heart of photo preservation.
Which materials keep photos safe over time?
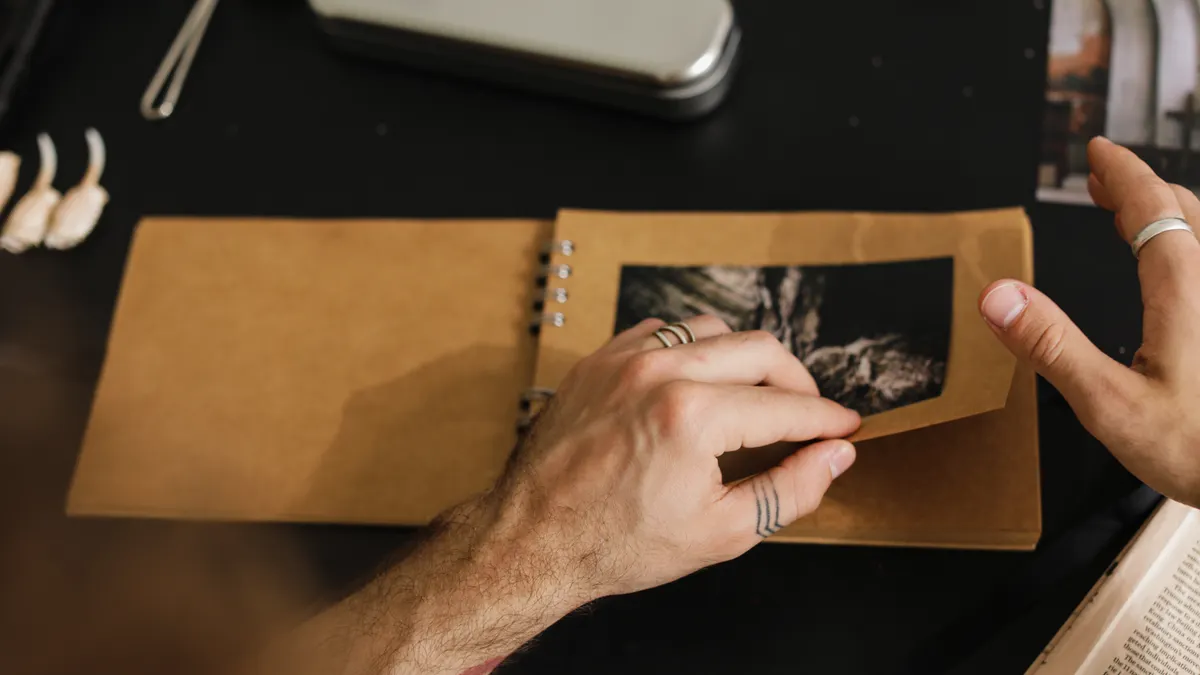
Acid-free, lignin-free, and photo-safe materials keep photos safer than ordinary paper goods, tape, and school glue. That simple filter removes most of the risk before the page is even designed.
Acid-free paper is the base layer I would reach for first. It helps keep the surrounding page from contributing to yellowing and brittleness. If the product also says lignin-free, that is a useful sign for long-term storage because lignin in paper can break down and produce acids.
Photo corners are a practical preservation tool because they hold the print without coating the back with glue. They are especially useful for vintage prints, postcards, and images you may want to remove later. If the corner pockets are too tight, the print can buckle, so the fit should feel snug but not forced.
Use photo-safe adhesive sparingly. Look for an adhesive made for photo mounting rather than a general craft glue. The aim is a thin, stable bond that does not bleed through the paper. If the back of the print starts to feel damp or gummy, too much adhesive has gone on.
Album sleeves add another layer of protection when the scrapbook will be handled often. A sleeve reduces fingerprints, dust, and accidental rubbing against embellishments. Not every scrapbook design needs sleeves, but they are useful for pages you expect to flip through frequently.
Random stickers, masking tape, wet glue, and products not made for photos? I would pass. Those shortcuts often look fine on day one and become a repair job later. If your page design depends on them, it is a design choice, not a preservation choice.
What is the safest way to use adhesive on photos?
The safest way to use adhesive on photos is to keep it on the back, keep it thin, and keep it away from the visible image area. That method reduces staining, curling, and edge lift.
Use just enough adhesive to hold the print steady. A thin line near the corners or a small amount on the outer back edges is usually enough for a standard print. If the photo is large, heavier, or mounted on textured paper, you may need a little more support, but the goal is still minimal coverage.
Do not spread glue across the full back unless the product instructions specifically call for that and the print is not valuable. Full coverage can trap moisture, create waves, and make later removal far harder. It also raises the chance that adhesive will squeeze out when the page is pressed.
If the photo is glossy, test the adhesive on a spare print first if you have one. Glossy coatings can be less forgiving than matte paper, and some products grip differently on each surface. If you can lift one corner cleanly and the rest of the print lies flat, the bond is doing its job.
This is where many generic scrapbooking guides get sloppy. They treat adhesive as a design detail. For preservation, it is a chemical decision. A neat-looking page is not enough if the back of the print is being damaged, and the Library of Congress advises using stable, archival-quality materials for photos and paper items. That math stops working fast.
How do you protect scrapbook photos from light and moisture?
Keep finished scrapbooks out of direct sunlight, especially near windows or bright display shelves. Light exposure is cumulative, so even a pretty room can be rough on color prints over time. If a book is on display, rotate it out of the light rather than leaving the same spread open for months.
You also have to watch humidity. A damp room can curl paper, soften adhesive, and encourage mildew. That is why bathrooms, basements, and attics are poor storage choices for family albums. The National Archives recommends a stable environment, and a closet shelf in the main part of the house is usually better than any room with big temperature swings.
Album sleeves help here because they create a barrier against fingerprints and spills. They are not waterproof, and they do not replace good storage, but they give you a useful layer between the print and everyday handling.
A closed scrapbook still needs air around it, not a plastic bag tied shut with trapped moisture inside. Before it goes into an archival storage box, make sure the book is dry. A dry page stays flatter and smells cleaner, which is usually the first sign that storage is working.
When should you use photo corners instead of glue?
Use photo corners instead of glue when the print is old, valuable, thin, or likely to be moved later. Corners are the safer choice because they avoid direct adhesive contact with the photo itself.
A corner mount gives you reversibility. If you later want to rescan the image, swap the layout, or protect a print that has sentimental value, you can lift it out with far less risk than a glued mount. That is especially useful for cabinet cards, vintage snapshots, and school portraits that may already have fragile edges.
Glue can be fine for modern copies or duplicates if you need a cleaner look and the photo is not something you mind mounting permanently. Even then, I would keep the adhesive on the back edges and use as little as possible. The cleaner the removal path, the better the long-term result.
Corners are not perfect. They add visible hardware to the page, and they can make the design feel more formal. They also require a little more care when placing the print so it sits squarely. That is the trade-off: a slightly less invisible mount in exchange for a safer one.
For the best compromise, use corners for originals and adhesive for replacement prints or scans. That gives you the protection you need without turning every page into a permanent decision.
How should you store a finished scrapbook long term?
Store a finished scrapbook in an archival storage box in a stable indoor spot, away from sun, moisture, and heavy stacking. That keeps dust, light, and pressure from slowly wrecking the pages.
An archival box is better than an ordinary cardboard carton because it is made to be gentler on paper goods. It also keeps the book from collecting dust on shelves and gives the binding some protection from scuffs. If the scrapbook is oversized, choose a box that fits without forcing the covers to bend.
Store the book flat if the binding is weak or if the pages are loaded with thick embellishments. Store it upright if the binding is sound and the spine can support its own weight. Either way, avoid packing it so tightly that pulling it out strains the cover.
Do not place heavy objects on top of finished scrapbooks. Pressure can emboss patterns into the pages and crush three-dimensional decorations into the photos beneath them. A clean box on a shelf is much safer than a stack of décor boxes in a warm attic.
This is also the place to decide who the page is not for. If you want thick, highly dimensional layouts with ribbons, buttons, and bulky paper layers, preservation will be harder. That style can look rich, but it is not the best match for a collection where the photos must stay as flat and safe as possible.
For preservation first, simple wins. A flatter page, fewer wet adhesives, and better storage will keep the images readable longer than a crowded layout ever will.
What is acid-free scrapbooking?
Acid-free scrapbooking uses papers and storage materials that do not introduce acids that can discolor or weaken photos over time. That usually means acid-free backing sheets, page protectors, and storage products made for archival use. The point is not decoration; it is slowing the chemical breakdown that causes yellowing, brittleness, and staining.
Can glue damage photos?
Yes, glue can damage photos if it stains, seeps through, curls the print, or makes later removal impossible. A photo-safe adhesive used sparingly on the back is less risky, but photo corners are usually safer for originals. If the print is irreplaceable, choose the most reversible method available and avoid full-coverage gluing.
Drafted with AI; not yet reviewed by a person.