How to Choose Scrapbooking Adhesives That Won’t Damage Photos
ScrapBooking >> Scrapbooking Supplies and Tools>> How to Choose Scrapbooking Adhesives That Won’t Damage Photos
How to Choose Scrapbooking Adhesives That Won’t Damage Photos
Last updated: October 22, 2026
Quick answer: choose a photo-safe adhesive for anything that will touch a print you want to keep, and expect the cleanest results from a tape runner or double-sided tape for most 4×6 photos. In How to Choose Scrapbooking Adhesives That Won’t Damage Photos, the safest choice depends on whether you are placing, mounting, or preserving.
Key takeaways
- Choose adhesive by task, not by habit: repositionable for layout, permanent for finished mounting, and photo-safe for anything you want to keep.
- Tape runners, double-sided tape, glue dots, photo-safe glue, and adhesive rollers each behave differently on paper, cardstock, and photo backs.
- The wrong adhesive can curl corners, leave shiny ridges, ooze through thin paper, or stain a photo over time.
- “Photo-safe” matters most when the item may stay in a book for years, not just until a layout is finished.
- Hot glue is a poor choice for photo areas because it adds heat, bulk, and a fast grab that is hard to correct.
The shortest answer: pick acid-free, photo-safe adhesive for photos
A photo-safe adhesive is the right default for anything touching a print you want to keep. In scrapbooking, that usually means acid-free, lignin-free, and made for paper crafts rather than general household use, which is why How to Choose Scrapbooking Adhesives That Won’t Damage Photos starts with the label.
That sounds fussy, but it saves you from the most common failure modes: yellowing, brittle edges, and adhesive bleed. A label that says “photo-safe” or “archival” is the clearest starting point. If a product does not say either one, treat it as a short-term craft supply, not a preservation choice; when in doubt, consult the manufacturer’s guidance or a professional conservator. The Library of Congress preservation guidance on storage and handling is a useful reference point, and the Smithsonian’s conservation advice also emphasizes stable, appropriate materials.
The three most useful formats are tape runners, double-sided tape, and glue dots. Tape runners are fast and tidy for flat mounting. Double-sided tape gives stronger hold along edges or under heavier mats. Glue dots are useful for small embellishments, but they can be too thick for direct photo contact if you want a clean, low-profile look.
This is where many generic guides get it wrong: they treat all scrapbook adhesive as interchangeable. It is not. A foam dot that is perfect for a flower can be a bad match for a print you want to keep flat in a 12×12 page protector. I would not use hot glue on photo corners, and I would not use random school glue on a keepsake layout; if you are unsure, consult a professional and check a source such as the Library of Congress or Smithsonian conservation guidance.
If you want a broader material list later, the hub page on scrapbook supplies can sit above this how-to without repeating this decision tree.
How do I choose the right adhesive for the job?
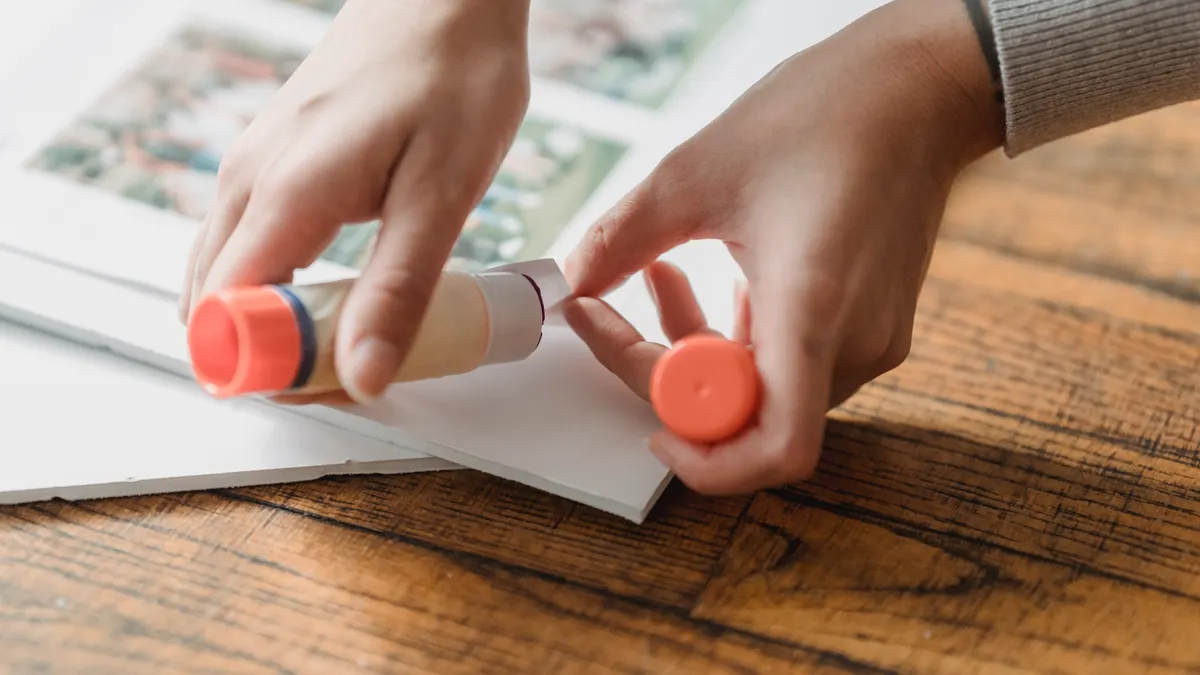
Choose the adhesive by how long it needs to hold and whether you want to move the item first. For scrapbooking, I think in three lanes: temporary placement, permanent mounting, and preservation.
Here is the decision order I would use:
- Start with the final goal. If the item is only moving around during layout, use repositionable adhesive or low-tack tape. That lets you shift the print several times without tearing paper fibers.
- Check the surface. Smooth photo paper needs a thinner bond than textured cardstock. A glossy 4×6 print usually likes a narrow strip of tape or a clean line of glue at the back edge.
- Match the hold to the weight. Flat photos and paper die-cuts need less strength than layered clusters. A small embellishment may stay put with glue dots; a thick mat may need double-sided tape.
- Think about long-term contact. If the adhesive will touch the photo itself, choose a product marked photo-safe. For a piece that only touches cardstock behind the print, acid-free is still the safer call.
- Use the least aggressive option that works. A stronger bond is not automatically better. Too much hold can warp thin paper or trap a bubble that never lies flat.
This approach prevents the usual mess: sticky corners that grab too soon, strips that show through translucent paper, and heavy blobs that distort the layout. A 1/4-inch tape runner line is often enough for a standard print; you do not need a full border unless the item is large or bowed, and if you are working with a new brand, consult a source before trusting it on a keepsake.
One practical rule helps a lot: if you expect to lift the item again within the next few minutes, choose repositionable adhesive. If you expect it to stay put for years, choose archival or photo-safe adhesive and press it once with firm, even pressure.
Which scrapbooking adhesive works best for photos?
The best scrapbooking adhesive for photos is usually a tape runner or double-sided tape for standard prints, with photo-safe glue used when you need a little more flexibility. That answer changes a bit depending on the print size and the finish.
A tape runner is the easiest all-around choice for standard prints. It lays down a thin strip of adhesive quickly, which helps keep the photo flat and avoids lumps. It is especially useful for 4×6 or smaller prints and for attaching paper mats.
A double-sided tape is stronger and cleaner than many wet adhesives. It works well for edges, corners, and layered pieces where you want a firmer bond. For heavier or slightly curled photos, it can be a better pick than a tape runner because it resists lift at the corners.
A photo-safe glue is useful when you need more working time or want to attach small pieces without visible tape lines. The trade-off is drying time. If you use too much, the photo can ripple as the moisture sets, especially on thin paper-backed prints.
Glue dots belong in the “careful use” category. They are excellent for bows, brads, and small embellishments, but they can be too thick for a photo surface if you need a flat finish. They also create raised points, which can show through thin decorative paper.
I would not choose adhesive by brand name alone. A product labeled for “crafts” might be fine for paper, but that does not mean it is safe for long-term photo contact. Look for the exact terms: acid-free, lignin-free, photo-safe, archival. For product selection, you can also compare notes with the scrapbook supplies hub and other storage-focused guides.
A practical process for mounting a photo without damage
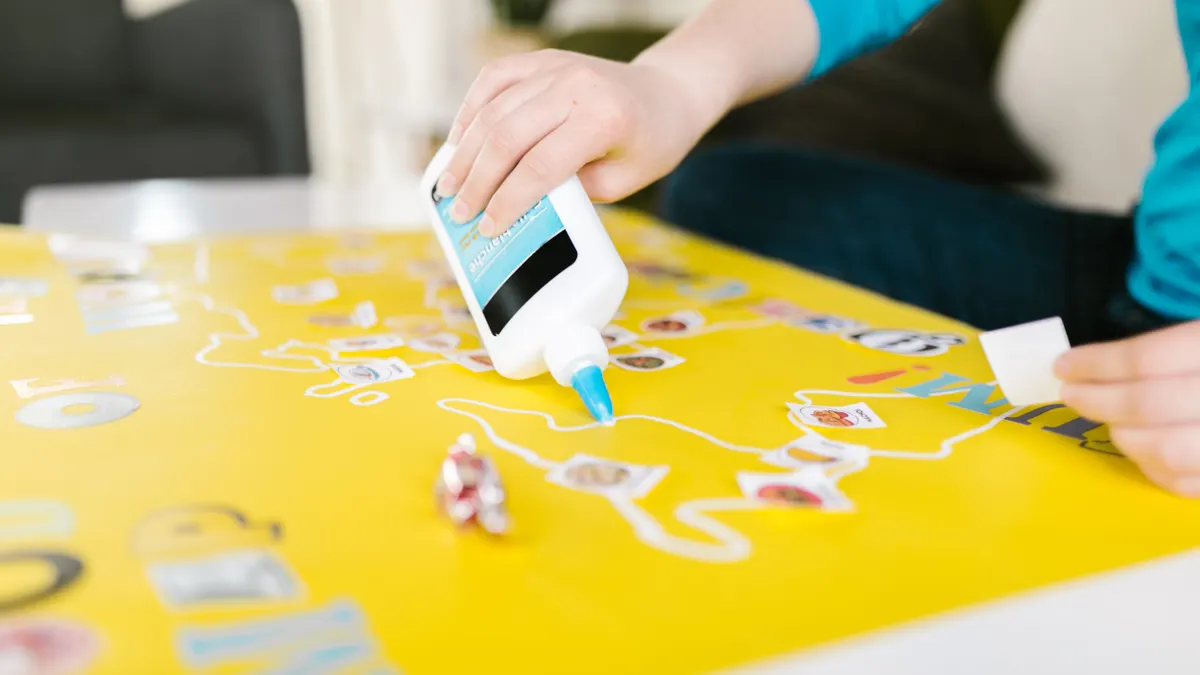
Mounting a photo safely means cleaning the back, placing adhesive only where needed, and pressing it down once. That process takes about 2 to 5 minutes per print, and it prevents most edge lift and residue problems; conservators and museum-handling guides routinely recommend careful handling and minimal reworking of paper objects.
- Dry-fit the photo first. Place it on the page or mat without adhesive and check the borders, alignment, and overlap. A clean dry fit keeps you from lifting the print repeatedly.
- Choose the smallest workable adhesive. Use a tape runner for light, flat mounting; use double-sided tape for stronger hold; use photo-safe glue only where a thinner bond or more open time helps.
- Apply adhesive to the back, not the front. Run strips near the edges or at key anchor points. Leaving a small margin from the edge reduces squeeze-out and keeps adhesive from showing.
- Set the photo in one motion. Lower it from one side to the other, rather than dropping it flat all at once. That helps push out air before the bond locks.
- Press with a clean bone folder or hand pressure. Hold for 10 to 20 seconds on each side, especially at corners. The result should be a flat, even attachment with no bubbles.
- Let wet glue cure before stacking. If you used a liquid adhesive, give it extra time before closing the book or adding layers. A few minutes of patience now prevents shifting later.
Two details matter here. First, do not over-apply. A 1/8-inch bead of glue may sound tiny, but on a photo back it can spread farther than you expect. Second, always test on a scrap photo or an offcut when you are using a new adhesive. A product that behaves well on cardstock can still be too wet for photo paper, so consult the maker’s directions before using it on an original print.
If you want the cleanest possible result, use adhesive only on the back corners or along the top edge when the design allows it. That reduces contact area while still keeping the piece secure.
What are the most common adhesive mistakes in scrapbooking?
The most common mistakes are using too much adhesive, choosing the wrong format for the weight, and assuming every “craft glue” is photo-safe. Each one creates a different kind of damage, and each one has a simpler fix.
The first mistake is over-application. Too much liquid glue causes warping, and too much tape makes raised edges that show under paper. The fix is to use narrower strips, smaller dots, or a light line near the perimeter instead of a full flood of adhesive.
The second mistake is using foam dots or thick glue dots under photos. That cost is a bulky, uneven surface that can catch in an album sleeve and make the print lift at the corners. Use those products for embellishments, not for direct photo mounting.
The third mistake is grabbing household glue because it is nearby. School glue, hot glue, and multipurpose tube glue are not made for archival scrapbook work. Hot glue in particular sets fast and can create a hard ridge that is difficult to reposition. That is a bad trade for anything you want to keep neat.
The fourth mistake is ignoring the paper weight. A glossy photo on lightweight paper can buckle if the adhesive introduces moisture. A better choice is a low-moisture tape runner or double-sided tape. On heavier cardstock, a stronger adhesive may be fine, but the back still needs even coverage.
The fifth mistake is stacking the book before the bond has set. Wet adhesives can shift under pressure. If a layout needs immediate closure, use a dry adhesive like a tape runner instead of waiting on glue.
These mistakes matter because the damage is often slow. The page may look fine on day one and fail months later, when corners start curling or residue appears at the edges. The cleaner fix is not a stronger adhesive; it is a better match.
How does adhesive longevity affect a scrapbook page?
Adhesive longevity matters because the bond often ages more visibly than the decoration itself. A product that feels strong today can discolor, dry out, or lose tack over time, especially if the book is stored in heat, humidity, or direct light.
For long-term work, choose adhesive that is labeled acid-free and photo-safe, and avoid products that are known mainly for speed rather than preservation. A tape runner with a clean, dry bond usually ages better than a wet glue that may absorb into paper fibers. Double-sided tape is also useful because it stays thin and does not add much moisture.
There is a trade-off. Dry adhesives are tidy, but they do not forgive mistakes easily. Wet adhesives allow more repositioning, but they are more likely to wrinkle thin materials. Repositionable glue is the middle ground for planning a page, but it is not the best final bond if you want the strongest long-term hold.
This is also where storage matters. Even a photo-safe adhesive can fail if the scrapbook sits in a hot attic or a damp basement. A stable indoor environment is better than a perfect label on a bad shelf. The adhesive and the storage condition work together, and preservation guides such as the Library of Congress make the same point about environment.
One term worth knowing is archival quality. It usually signals a product intended for long-term paper contact, though labels vary by maker. If you are building a keepsake book, prioritize that category over bargain multipacks with vague wording.
I would not use this section as a reason to overbuy special products. A few well-chosen basics—a tape runner, double-sided tape, glue dots, and one photo-safe glue—cover most page designs without filling a drawer with duplicates.
What should I buy first if I only want a few adhesives?
Buy one tape runner, one roll of double-sided tape, one small pack of glue dots, and one photo-safe glue. That four-item set covers most scrapbooking jobs without forcing you into a large starter kit.
A tape runner handles fast page assembly and is the easiest tool for neat, flat photo mounting. Double-sided tape gives a stronger hold for edges, heavier mats, and pieces that need more staying power. Glue dots solve the odd jobs: ribbons, small flowers, and tiny embellishments that would be messy with liquid glue.
The photo-safe glue is the one I would keep for special cases rather than daily use. It is useful when you need working time, but it should not become the default for every print. A little goes a long way, and that matters when you are trying to avoid ripples.
What I would skip first are oversized glue guns and novelty adhesives with no clear archival labeling. They can be fine for mixed-media crafts, but they are not the cleanest answer for photo protection. If a label does not say acid-free or photo-safe, I would treat it as a temporary craft adhesive, not a keepsake material.
A final sorting rule helps when you are standing in front of a shelf: choose the adhesive that matches the photo’s role. If it is a layout placeholder, go repositionable. If it is a finished attachment, go permanent. If it is a print you may want to keep for years, go photo-safe.
For broader shopping context, the scrapbooking supplies hub can hold the larger supply list without muddying this adhesive guide.
What adhesive is best for scrapbooking?
The best adhesive for scrapbooking depends on the job, but a tape runner or double-sided tape is the safest general choice for photos. Both give a thin, clean bond and are easy to control. For embellishments, glue dots work well. For anything touching a photo long term, pick a product marked acid-free and photo-safe.
Is hot glue safe for scrapbook pages?
Hot glue is not a good choice for scrapbook pages that include photos. It sets quickly, adds bulk, and can create a hard, raised bond that is difficult to correct. It is better reserved for thicker embellishments or mixed-media craft work where preservation is not the main goal.
What is photo-safe adhesive?
Photo-safe adhesive is adhesive made to contact photographs without causing obvious damage such as yellowing, staining, or acid-related deterioration. It is usually also labeled acid-free, and often lignin-free. For scrapbook work, that label matters most when the photo will stay in the book for years rather than a short project cycle.
Drafted with AI; not yet reviewed by a person.